
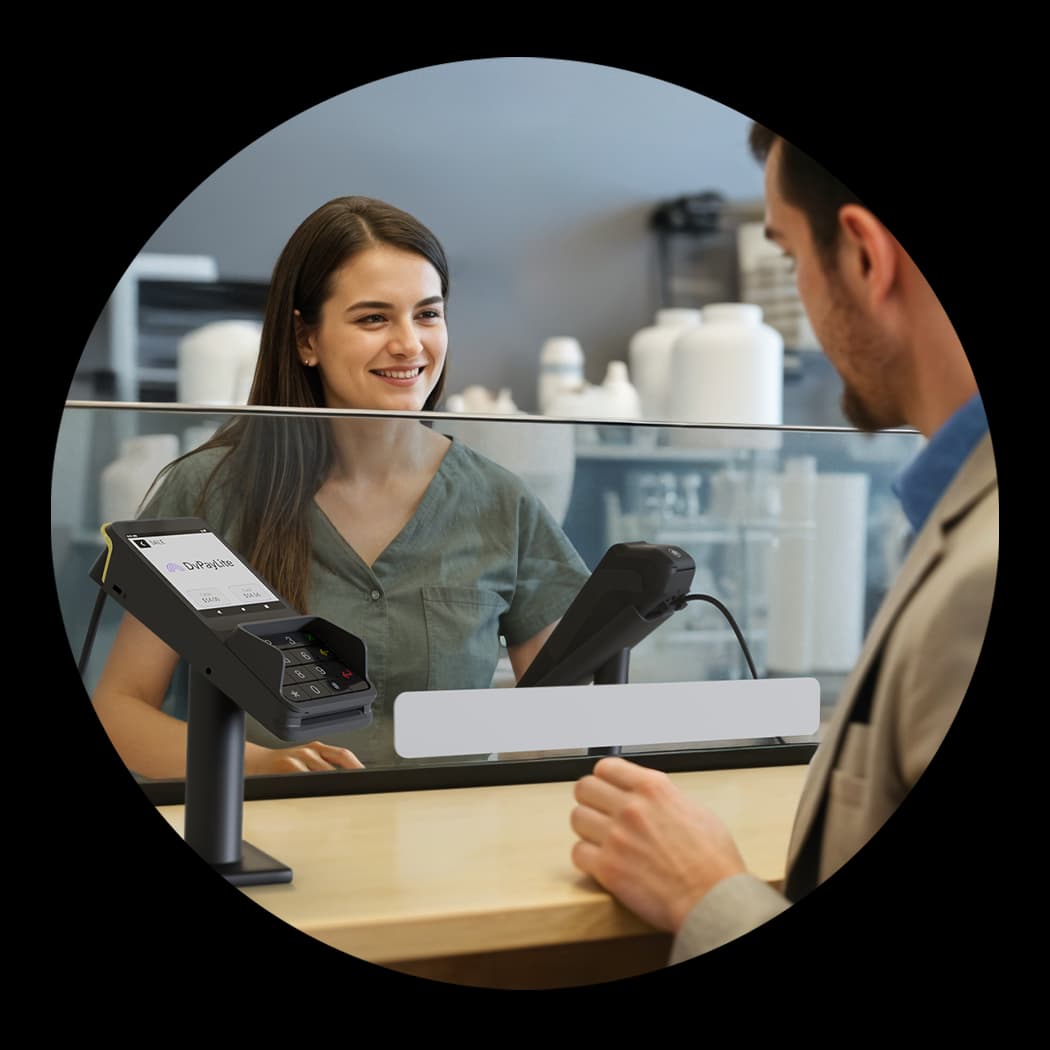
The Dejavoo P17 is an Android-based companion PIN pad — a customer-facing device with a 4-inch HD touchscreen that pairs with a main terminal like the Dejavoo P1 or a POS station. It is USB-powered through that host, accepts chip, contactless, and swipe, is ADA-compliant, and meets PCI-PTS 6.x security requirements. Because it has no battery or standalone connection, the P17 quick start is really about wiring it to the right host and confirming the two devices talk.
Before you begin, have two things on hand: the USB-C cable that shipped with the P17 and a powered Dejavoo P1 terminal or POS to connect it to. With those ready, work through the steps below in order and your PIN pad will be live and ready for customers.
1Connect the P17 to your P1 terminal or POS via USB-C
- Your Dejavoo P17 quick start begins with a single cable. The P17 is a companion PIN pad — it has no battery and no independent connection of its own, so it draws both power and data from the main device it partners with. Plug the USB-C cable into the port on the base of the P17, then connect the other end to the USB port on your Dejavoo P1 terminal or your POS station.
- Seat the connector fully until it clicks and route the cable so the 4-inch HD touchscreen faces your customer at the counter. Because the P17 is USB-powered through the host, there is no separate adapter to plug into the wall — the P1 or POS supplies everything the PIN pad needs.
2Power on and let the P17 boot
- Once the USB-C cable is connected to a powered P1 or POS, the P17 receives power automatically and the Android-based interface starts up. Wait for the Dejavoo logo to appear and the home screen to settle before you touch anything — the first boot can take a few extra seconds while the PIN pad negotiates with the host device.
- If the screen stays dark, confirm the host terminal is actually powered on and awake, then reseat the USB-C cable at both ends. A loose or half-inserted connector is the most common reason a P17 will not light up.
3Pair and configure the P17 with the host
- With both devices on, the P1 terminal or POS needs to recognize the P17 as its attached PIN pad. On the host, open the peripheral or PIN pad settings and select the P17 so the two devices handshake. On a POS integration, launch your payment application and confirm it lists the P17 as the connected card-entry device.
- The P17 supports IC (chip) insert, NFC contactless, and magstripe swipe, and it is ADA-compliant with tactile and accessibility features for customers who need them. Confirm the pairing shows a ready or connected status on the host before you take a live card — this is the checkpoint that the Dejavoo P17 quick start is wired correctly.
4Run a test payment with PIN entry
- Before your first customer, ring up a small test sale on the P1 or POS and send it to the P17. Insert a chip card into the reader at the bottom of the PIN pad and follow the on-screen prompts. When the transaction calls for it, the customer enters their PIN directly on the P17's touchscreen — the whole point of the companion pad is that cardholders keep their card and their PIN in their own hands.
- Void or refund the test right away so it does not settle. A clean approval with a successful PIN entry confirms the chip reader, the encrypted PIN pad, and the connection to the host are all working together.
5Test a contactless tap
- Run a second small test using contactless. Hold a tap-enabled card, phone, or smartwatch near the NFC symbol on the P17 screen and wait for the confirmation beep and checkmark. The P17 meets PCI-PTS 6.x security requirements, so contactless and PIN data are encrypted at the point of entry.
- Testing all three read methods — insert, tap, and swipe — before you open makes sure no entry path surprises you mid-shift. Refund or void this test as well so your reporting stays clean.
6Note on dual-pricing display
- If your business runs a dual-pricing or cash-discount program, the P17 can show the customer both the card price and the cash price during checkout so the choice is clear and transparent at the moment of payment. Confirm the pricing prompt appears on the P17 screen during your test sale, not only on your POS.
- Because the customer reads and confirms the amount on the pad itself, the P17 makes dual-pricing disclosure straightforward at the counter. If the prompt does not display, have us verify how dual-pricing is configured on your host terminal or POS application.
7Troubleshooting common issues
- If the P17 screen is blank, the host device is almost always the cause — make sure the P1 or POS is powered and awake, then reseat the USB-C cable at both ends. If the host does not detect the pad, re-open the PIN pad or peripheral settings and pair it again.
- If a chip card will not read, wipe the contacts and reinsert slowly; if contactless fails, move the card closer to the NFC symbol and hold it steady. When anything still looks off, reach out — local support means you talk to a real person who knows Puerto Rico merchants, not an overseas queue.
Want the full spec sheet before you set up? See the Dejavoo P17 details, or browse our Dejavoo support and manuals for more help with your Puerto Rico setup.