
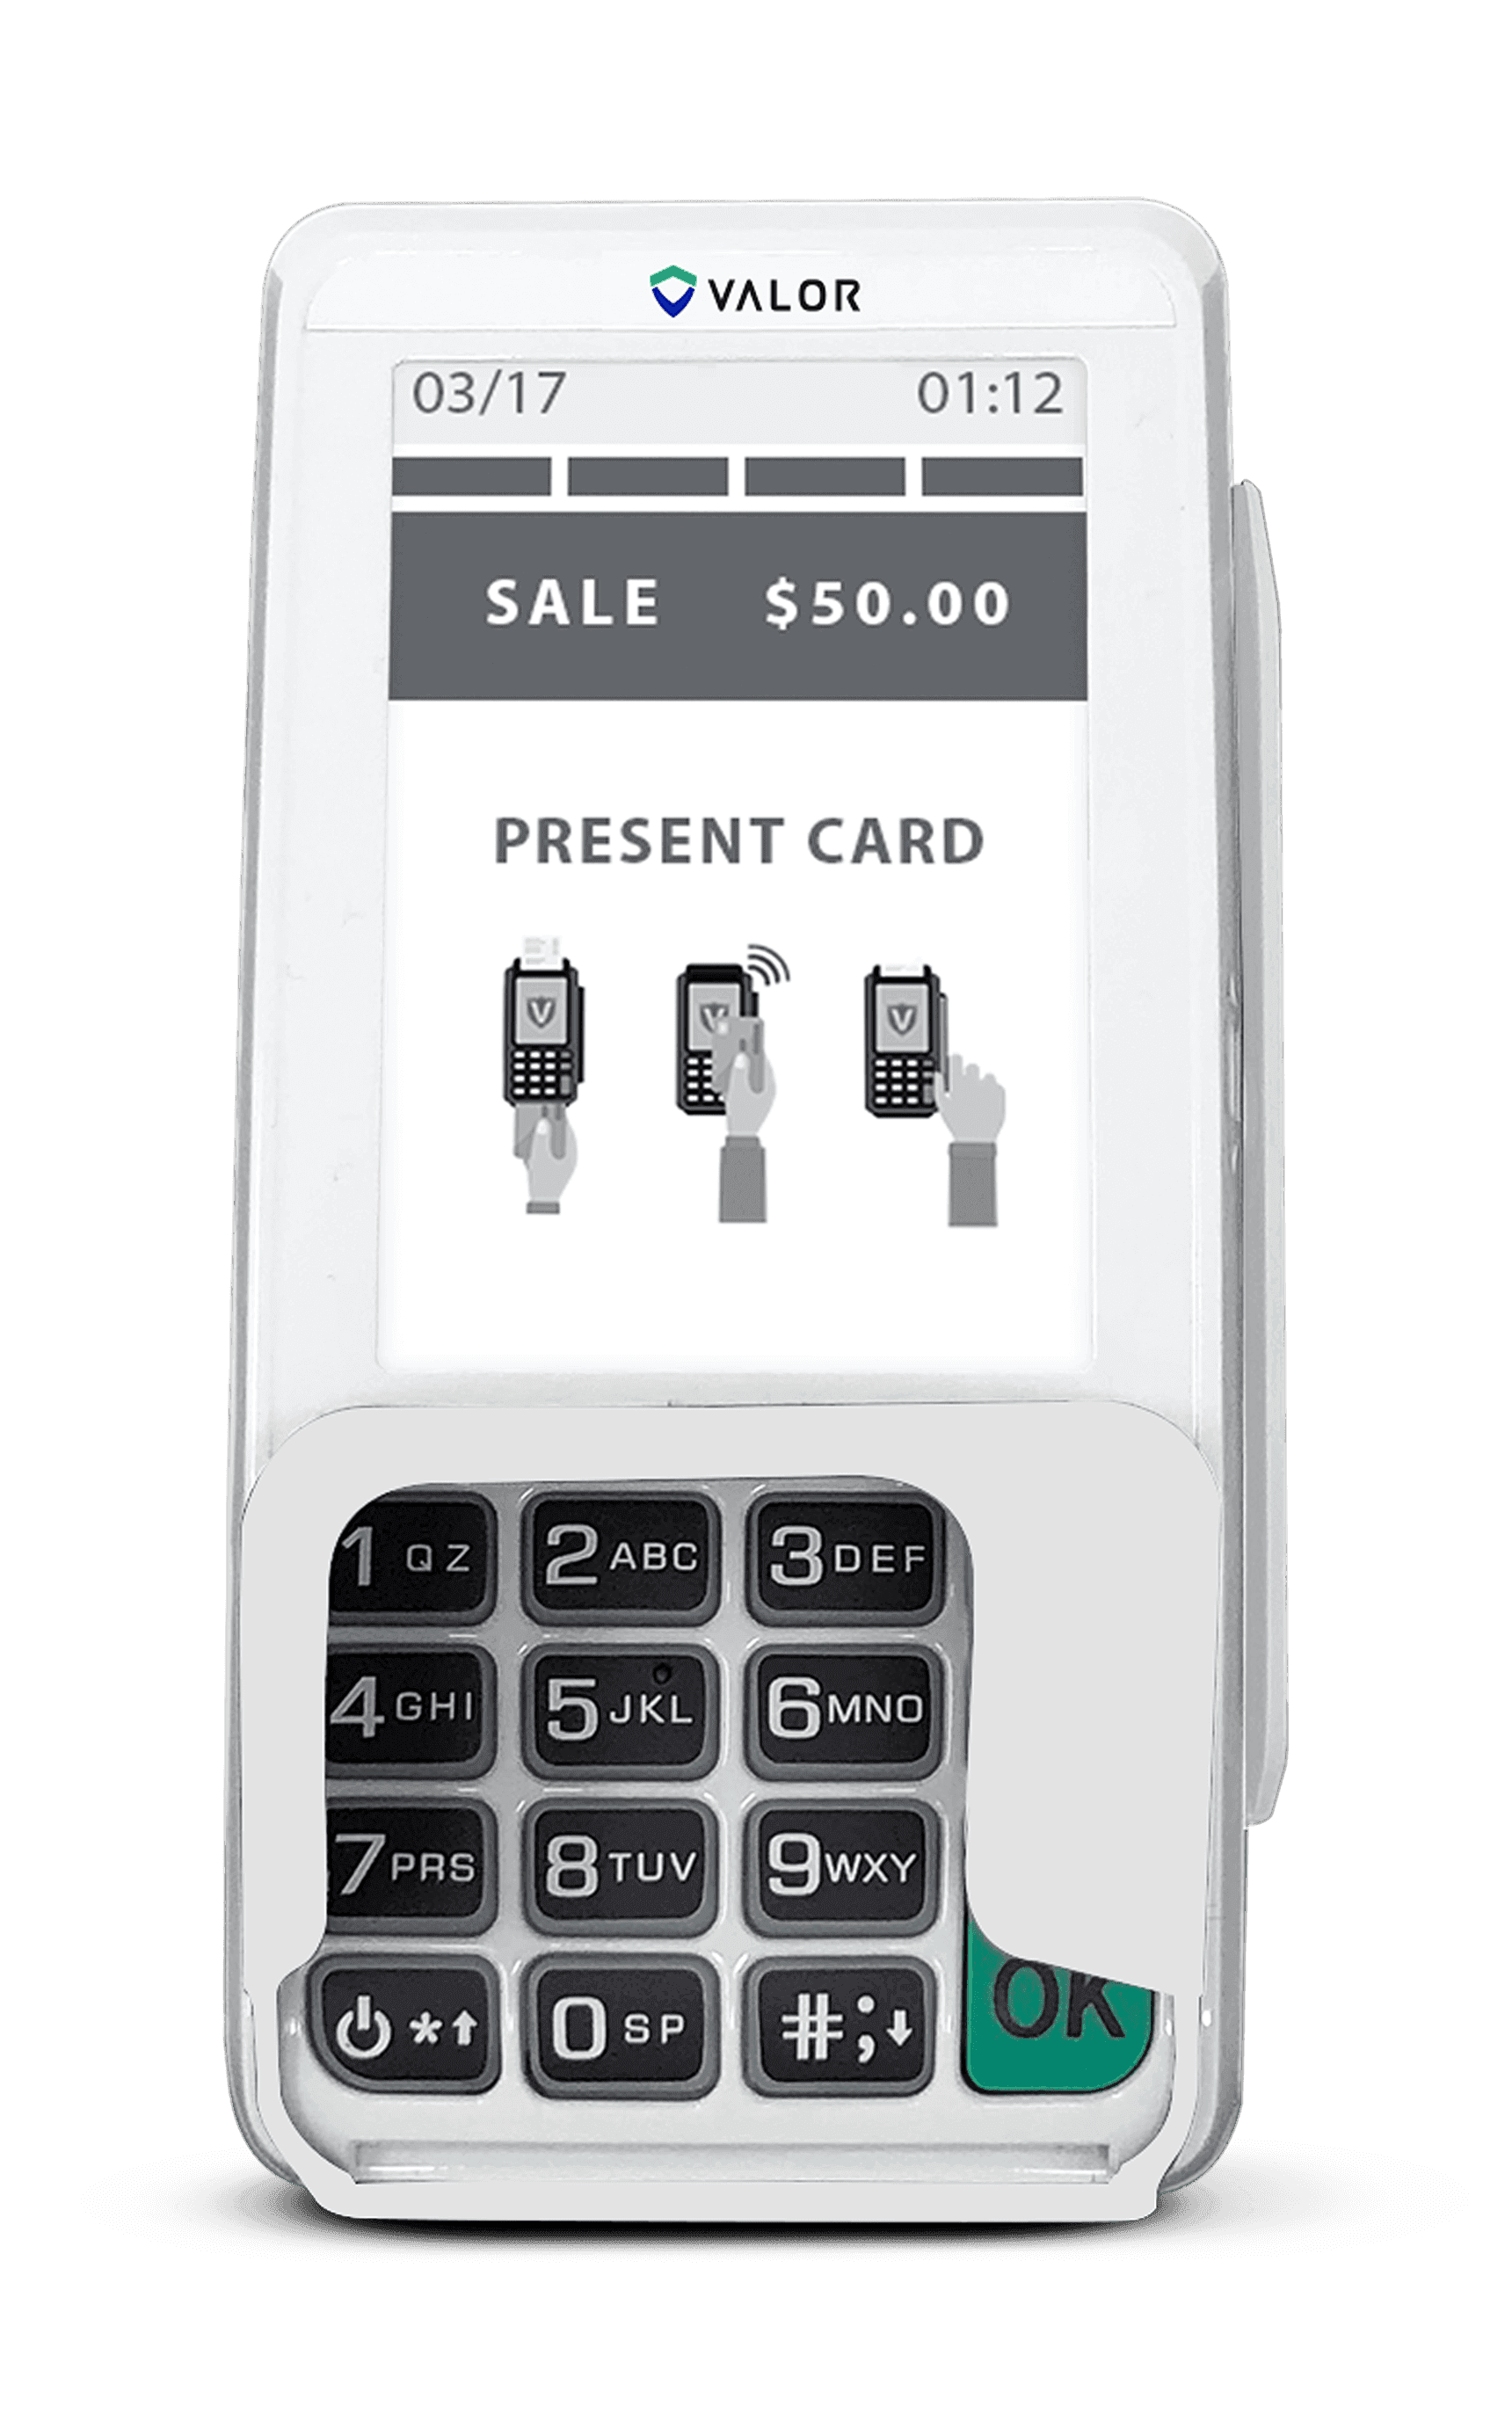
The Valor VL300 is a secure, customer-facing PIN pad that pairs with your ECR or POS to accept EMV chip, contactless tap, and magnetic-stripe swipe payments with encrypted PIN entry. It connects over Ethernet or USB, keeps sensitive card and PIN data off your register, and sets up in a handful of steps. Follow this quick start in order and you will be taking payments the same day. If you get stuck, our Caribbean Payments team is based right here in Puerto Rico and happy to help.
1.Connect the VL300 to power
- Unbox the Valor VL300 PIN pad and confirm you have the device, the power supply, and the Ethernet or USB cable that matches how you will connect it. Set the PIN pad on the counter where a customer can reach it comfortably and face it toward them.
- Plug the power adapter into the VL300 and into a surge-protected outlet. The screen lights up and runs a short self-check. Give it a moment to reach the idle or welcome screen before you connect anything else.
2.Connect it to your POS or ECR
- The VL300 is a customer-facing companion device — it does not ring up sales on its own, it pairs with your electronic cash register (ECR) or POS. Choose one link: Ethernet for a wired network connection, or USB for a direct cable to the register.
- For Ethernet, run the cable from the VL300 into your router, switch, or the pass-through port on your terminal. For USB, connect the cable directly to the POS or ECR. A network or link icon on the VL300 screen confirms the connection is live.
3.Pair and configure the PIN pad
- With the VL300 online, your POS or ECR needs to see it. Open the payment or peripheral settings on the register and select the VL300 as the attached PIN pad, then enter the pairing code or IP address shown on the device if prompted.
- The VL300 downloads its configuration — your merchant profile, encryption keys, and tip or receipt options included in your plan. Let it finish and restart if asked. This one-time step ties every future transaction to your business correctly.
4.Run a test payment with PIN entry
- Before you go live, confirm the full flow works. Ring a small sale on your POS or ECR, such as $1.00, and send it to the VL300. The customer prompt appears on the PIN pad.
- Insert an EMV chip card and follow the prompts to enter a PIN. Encrypted PIN entry happens entirely on the VL300, so the number never touches your register. Approve the sale, then void or refund it right away to prove the reader, network, and merchant account all work together.
5.Try a contactless tap test
- The VL300 accepts EMV chip, magnetic-stripe swipe, and contactless tap. To test tap, start another small sale and hold a contactless card, phone, or watch over the reader zone at the top of the screen.
- Wait for the beep or checkmark and let the sale approve, then reverse it as you did before. A clean tap confirms Apple Pay, Google Pay, and contactless cards are ready for real customers.
6.Reprints and troubleshooting
- Receipts print from your POS or ECR, not the VL300 itself — to reprint, open the last transaction on the register and choose reprint. If a card is declined, ask the customer to try again or use another card, since most declines come from the issuing bank.
- If the VL300 shows no connection, re-seat the Ethernet or USB cable and check that the register still lists it as the paired PIN pad. Power-cycle the device if the screen freezes. Our local Puerto Rico support team can walk you through anything by phone.
Want the full rundown on this device? See the Valor VL300 page, or browse our card terminals to compare options and find the right fit for your business.