
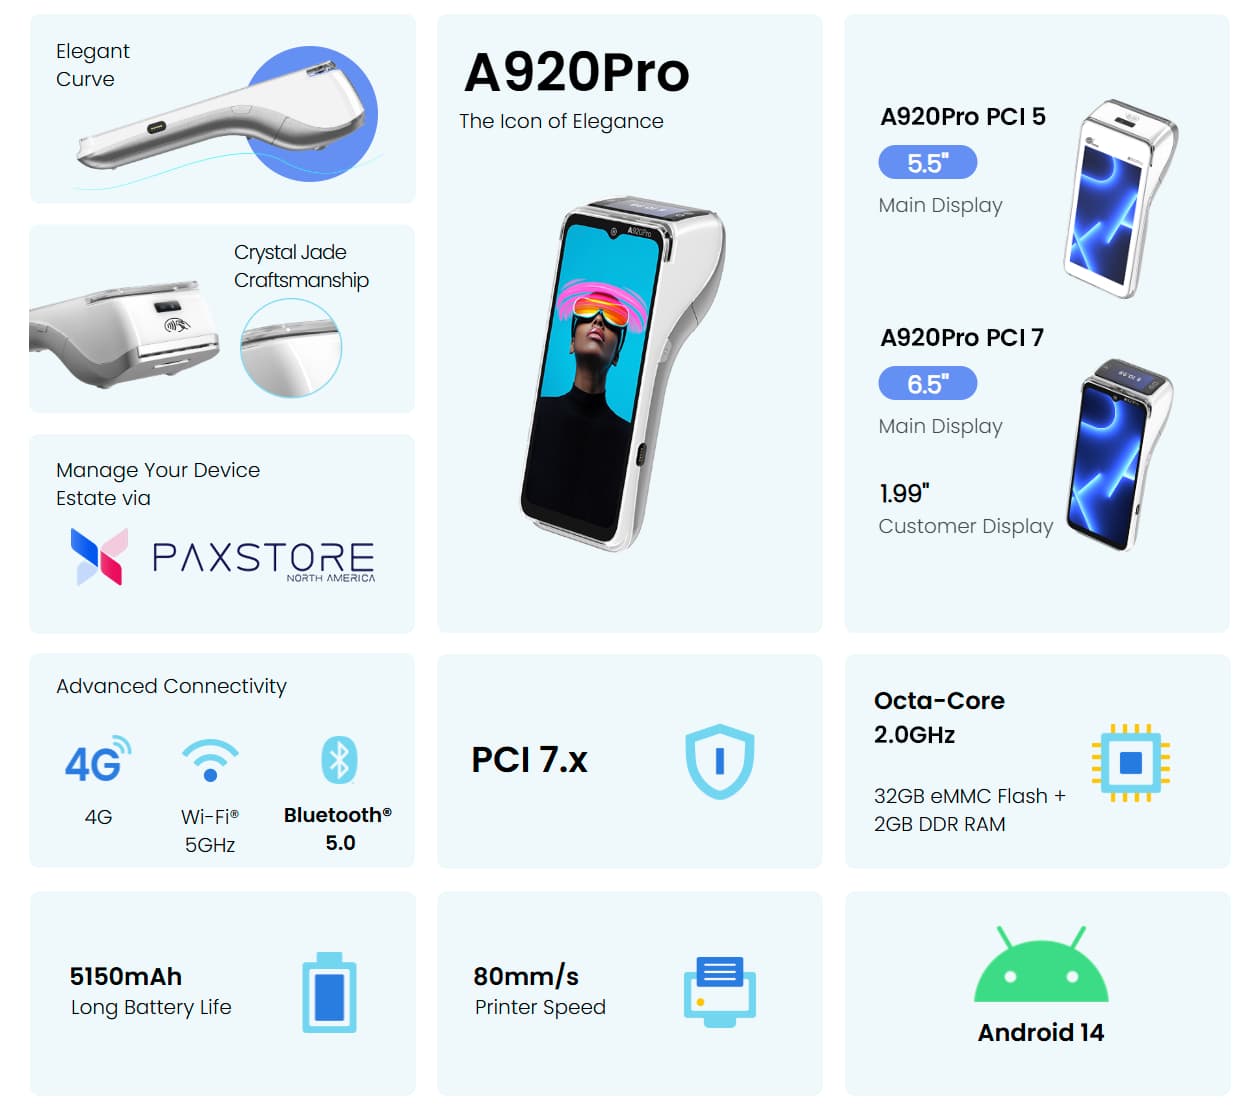
The PAX A920 Pro is a premium, Android-based smart terminal that accepts tap, chip, swipe, and QR payments on Wi-Fi or LTE, prints receipts on its built-in printer, and runs a full shift on one charge. Getting it running is quick, and this reference breaks the process into seven simple steps. Follow them in order and you will be taking payments the same day your device arrives. Our PAX A920 Pro terminal is supported by a Caribbean Payments team based right here in Puerto Rico, so help is only a call away.
1.Charge and power on the PAX A920 Pro
- Confirm your box includes the PAX A920 Pro smart terminal, the USB-C charger, and a roll of thermal receipt paper. Set the device on a flat surface near an outlet and plug it in for its first full charge — the larger 5150mAh battery takes a bit longer than the base A920, so give it time to reach 100%.
- Load the paper by lifting the printer latch on top, dropping the roll in so paper feeds from underneath, and pulling a short tail out before you close the lid. Then press and hold the power button on the right edge until the PAX logo appears and the home screen loads on the 5.5-inch display.
2.Connect the A920 Pro to Wi-Fi
- From the home screen, open Settings and tap Wi-Fi (or swipe down and hold the Wi-Fi icon). Turn the radio on, choose your business network, enter the password, and wait for the status to show Connected.
- The A920 Pro also ships with a 4G/LTE SIM option for mobile acceptance. If you take payments away from the counter — a food truck, a market stall, a delivery route — ask our team to enable data so the terminal stays online anywhere on the island, all shift long.
3.Activate the payment app
- With the terminal online, open the payment application from the home screen. On first launch it will ask for an activation or terminal ID code tied to your merchant account — enter the exact code from your Caribbean Payments welcome details.
- The app then downloads your merchant profile, tax settings, and encryption keys, and may prompt for a quick update or restart. The A920 Pro's faster processor moves through this setup quickly; let it finish so every future transaction links to your business correctly.
4.Test the built-in scanner
- The A920 Pro adds an integrated barcode and QR reader on the top edge — worth checking before you go live. In the payment app or inventory screen, choose Scan and hold a product barcode or a QR code a few inches from the top-side scanner window until it beeps and registers.
- If you plan to accept QR-code payments or scan items into a sale, confirm the reader captures cleanly in your store's lighting. The 5MP rear camera can also read codes as a backup — our team can help you set your preferred scan method.
5.Run a test sale — tap, chip, or swipe
- Before going live, prove the whole path works. In the payment app choose Sale, key in a small amount such as $1.00, and present a card you control. Tap it against the top of the screen for contactless, insert the chip into the slot at the base, or swipe through the side magstripe reader.
- Wait for the Approved message, then void the transaction from the Transactions or History menu right away. A clean approval and reversal confirms the reader, your network, and your merchant account are all communicating.
6.Print, email, and reprint receipts
- After each approval the A920 Pro offers a receipt. Tap Print for a thermal copy from the built-in printer, or choose Email or SMS to send a digital receipt — handy for saving paper and capturing customer contact details.
- Need a duplicate later? Open the Transactions menu, find the sale, and tap Reprint. If the printer runs out mid-sale, reload paper and reprint from that same screen — the transaction itself is already saved, so no sale is ever lost.
7.Settle and batch out
- At the end of each business day, settle your batch so the day's approved sales are sent for funding. Open the payment app menu, choose Settlement or Batch, and confirm — the terminal totals every transaction and closes the batch.
- Many merchants prefer auto-settlement at a fixed time each night; our team can switch that on for you. Once the batch closes, funds move to your account on your normal deposit schedule. If a batch will not settle, our local Puerto Rico support team can walk you through it by phone.
Comparing devices before you commit? Browse our full range of card terminals to find the right handheld or countertop fit for your business in Puerto Rico.