
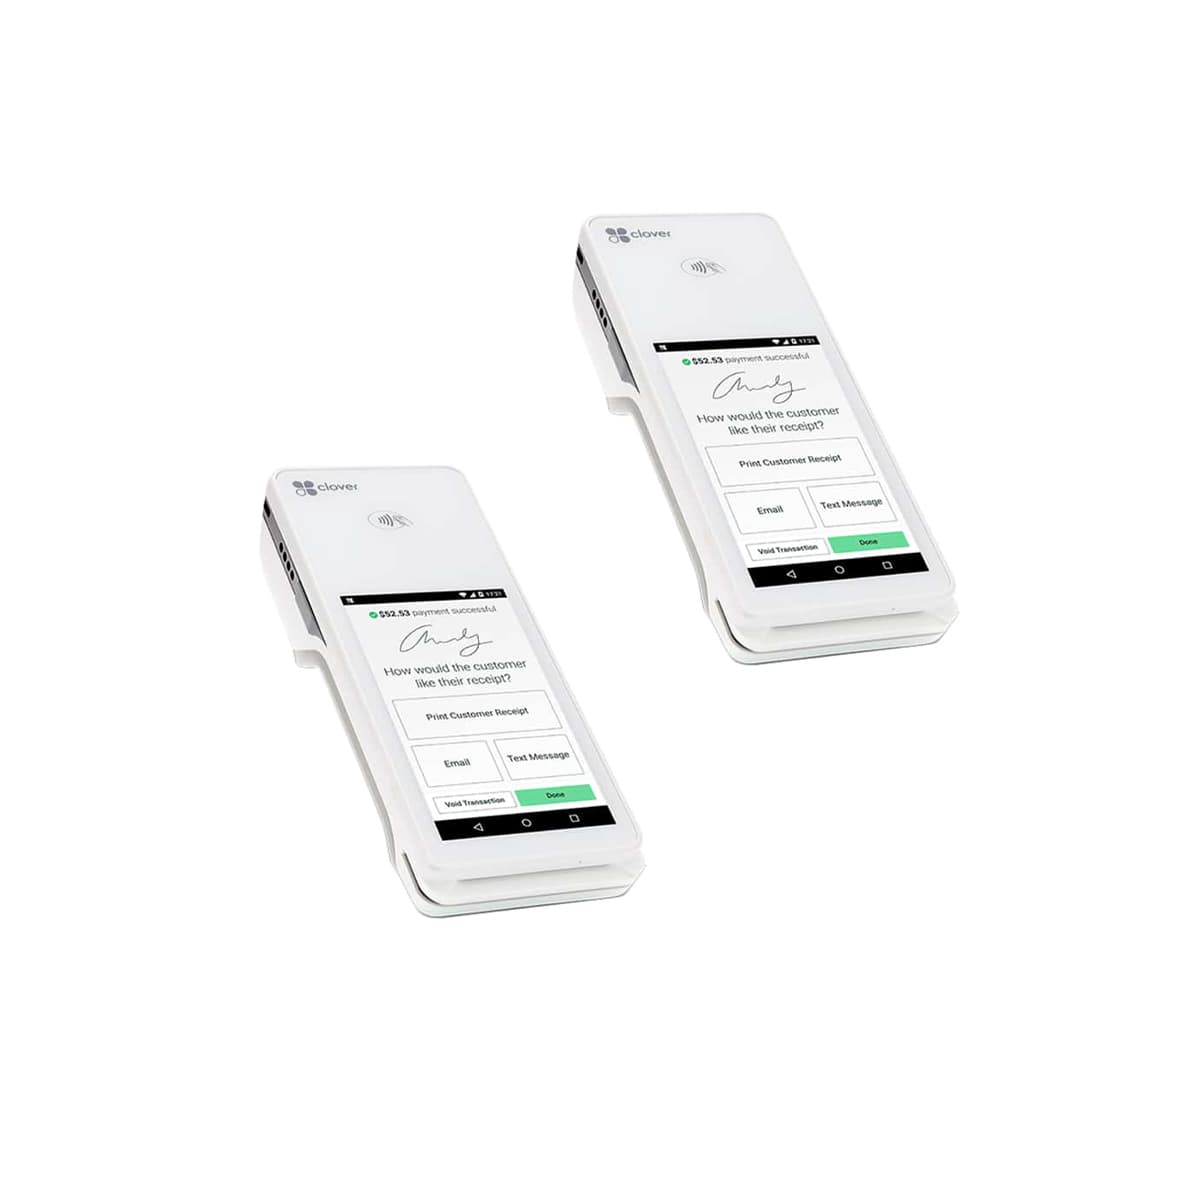
The Clover Flex is a handheld, all-in-one payment terminal that lets you accept cards, chips, and contactless taps at the counter or anywhere your business goes. Getting it running is straightforward, and this guide breaks the process into six simple steps. Follow them in order and you will be accepting payments the same day your device arrives. If you get stuck at any point, our Caribbean Payments team is based right here in Puerto Rico and happy to help.
1.Unbox and charge your Clover Flex
- Open the box and check that you have the Clover Flex handheld, the charging cradle or USB-C cable, the power adapter, and the receipt paper roll. Set the terminal on a flat surface near a power outlet.
- Plug the Flex into power and let it charge to at least 50% before your first setup — roughly 30 to 45 minutes. While it charges, load the receipt paper: lift the printer latch on top, drop the roll in so the paper feeds from underneath, and pull a short tail out before closing the lid.
2.Connect the Flex to Wi-Fi
- Power on the device by holding the button on the right edge. Once it boots, tap through to the network screen (Settings → Wi-Fi if it does not appear automatically).
- Select your business network, enter the password, and wait for the connection to confirm. If you plan to take payments away from the counter, the Flex also supports a mobile data (LTE) plan — ask our team to enable it so you stay online anywhere on the island.
3.Activate the device
- With the Flex online, it will prompt for an activation code. This code is tied to your merchant account, so enter the one Caribbean Payments provided when your account was set up.
- The device then downloads your merchant profile, tax settings, and any apps included in your plan. Let it finish updating and restart if asked — this only happens once and ensures every transaction is linked to your business correctly.
4.Run a test transaction
- Before you go live, confirm everything works end to end. Open the Sale app, key in a small amount such as $1.00, and run a card you control — tap, dip the chip, or swipe.
- Approve the sale, then void or refund it right away from the Transactions screen. A clean approval and reversal proves your reader, network, and merchant account are all talking to each other.
5.Accept your first payment
- You are ready for real customers. Enter the amount, hand the Flex to the customer or hold it out, and let them tap a card or phone, insert a chip, or swipe. The Flex accepts Apple Pay, Google Pay, and contactless cards out of the box.
- Offer a printed or emailed receipt, and the funds settle to your account on your normal deposit schedule. Every sale is protected by EMV chip security and end-to-end encryption.
6.Tips and troubleshooting
- If a card is declined, ask the customer to try again or use another card — most declines come from the issuing bank, not the terminal. If the Flex drops offline, re-check Wi-Fi from Settings or switch to the LTE connection.
- Keep the device charged overnight in its cradle, install updates when prompted, and restart it weekly to keep performance smooth. If anything looks wrong, our local Puerto Rico support team can walk you through it by phone — you are never on your own.
Want the full rundown on what this terminal can do? See our payment solutions to compare Clover devices and find the right fit for your business.