
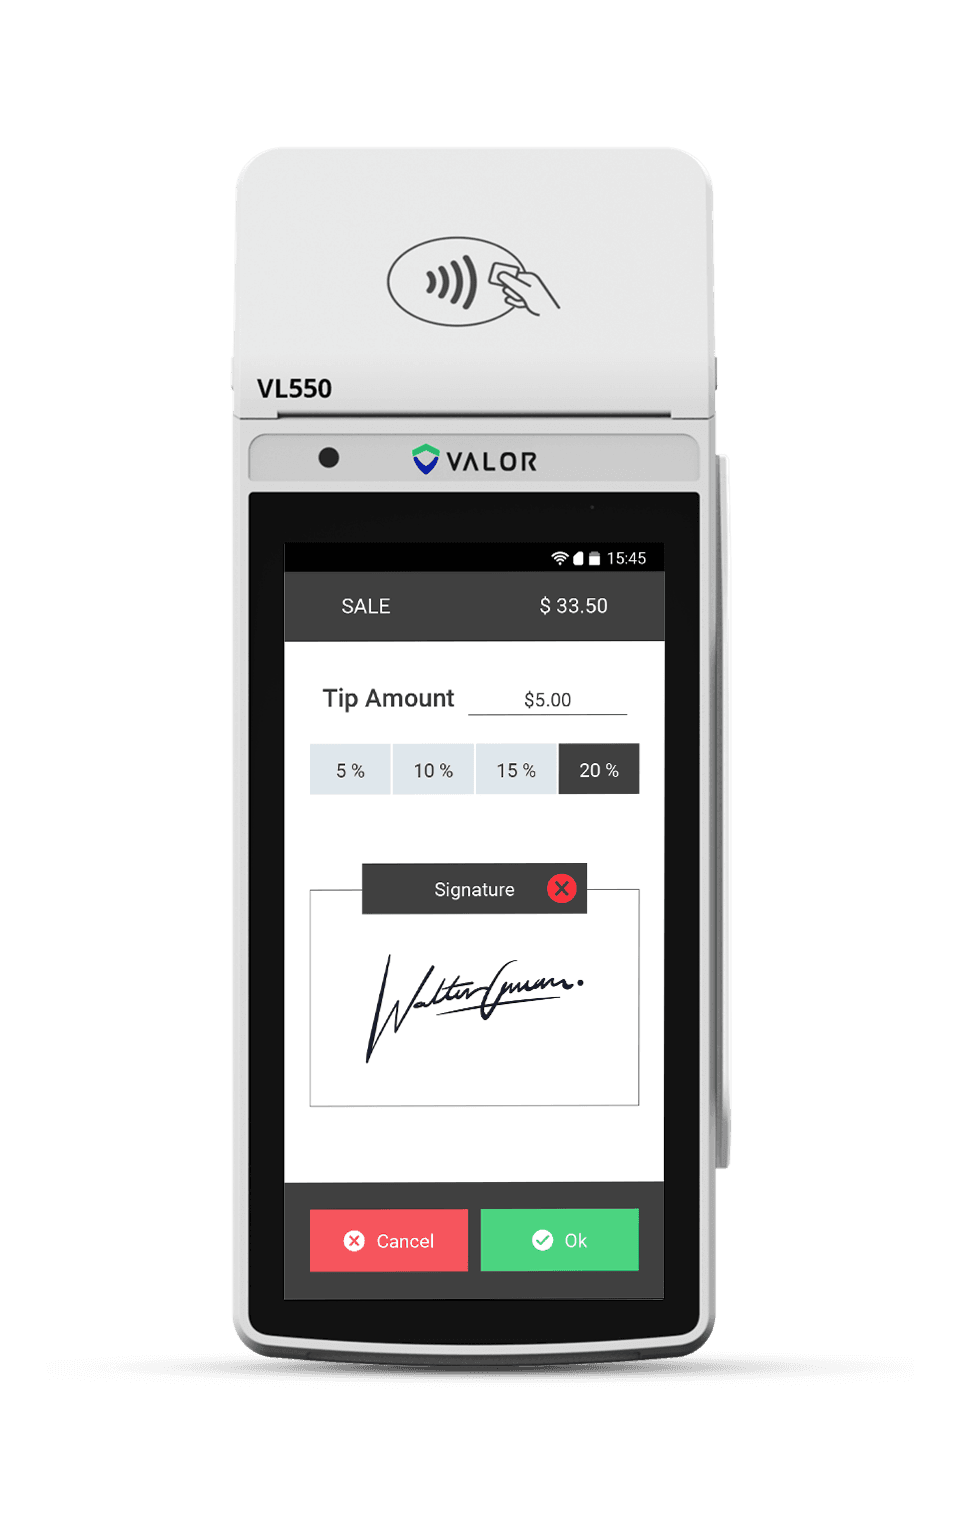
The Valor VL550 is a next-generation Android countertop smart POS terminal with a large color touchscreen, a fast built-in printer, and flexible Wi-Fi, Ethernet, and 4G connectivity. It accepts EMV chip, tap, swipe, and mobile wallets, and adds app support and built-in reporting for growing businesses. This guide breaks setup into eight simple steps — follow them in order and you will be accepting payments the same day your device arrives. If you get stuck, our Caribbean Payments team is based right here in Puerto Rico and happy to help.
1.Unbox and connect power
- Open the box and confirm you have the Valor VL550 countertop terminal, the power adapter, the receipt paper roll, and any Ethernet cable included with your plan. Place the terminal on a flat surface near a power outlet and, if you plan to use a wired connection, near your router or switch.
- Plug the power adapter into the terminal and then into the outlet. The VL550 boots into its Android interface within about a minute — you will see the large color touchscreen light up and land on the home or activation screen.
2.Connect Wi-Fi, Ethernet, or 4G
- The VL550 supports Wi-Fi, Ethernet, and 4G, so pick whichever is most reliable at your counter. For Wi-Fi, tap Settings, then Network, choose your business network, and enter the password. For a wired connection, simply plug the Ethernet cable into the port on the back and the terminal connects automatically.
- If your plan includes a 4G SIM, the terminal falls back to cellular data whenever Wi-Fi or Ethernet drops — handy for keeping payments online during an internet outage. Wait for the connection indicator to confirm you are online before moving on.
3.Activate and download your profile
- With the VL550 online, it prompts for an activation or setup code tied to your merchant account. Enter the code Caribbean Payments provided in your welcome details.
- The terminal then downloads your merchant profile, payment apps, and account settings from the Valor gateway. Let it finish and restart if asked — this one-time sync links every future transaction to your business and loads any reporting and app features on your plan.
4.Load the receipt paper
- The VL550 has a fast built-in thermal printer. Open the printer cover by lifting the latch on top of the terminal, then drop the paper roll in so the paper feeds from underneath the roll toward the front.
- Pull a short tail of paper out past the tear bar and close the cover firmly until it clicks. If a printed receipt comes out blank, the roll is in backward — flip it over, since thermal paper only prints on one side.
5.Configure taxes and tips
- Before your first real sale, set up how the terminal handles tax and gratuity. From the app menu, open Settings, then Tax to enter your Puerto Rico sales tax rate so it applies automatically at checkout.
- If you accept gratuity, enable Tip in the same menu and choose your preset percentages or a custom-amount prompt. The customer then selects a tip on the touchscreen during each sale. Ask our team if you want these pre-configured before the device ships.
6.Run a test sale — chip, tap, swipe, or wallet
- Confirm everything works end to end. Open the Sale app, key in a small amount such as $1.00, and complete it with a card you control. The VL550 accepts EMV chip, contactless tap, magnetic swipe, and mobile wallets like Apple Pay and Google Pay.
- Dip the chip into the reader at the front, tap a card or phone against the screen, or swipe along the side slot. Approve the sale, then void it right away from the Transactions screen. A clean approval and reversal proves your reader, network, and merchant account are all connected.
7.Print, reprint, and settle your batch
- After each sale the VL550 offers a printed or emailed receipt. To reprint the last receipt or any earlier transaction, open the Transactions or Reprint screen, find the sale, and tap Reprint — useful when a customer needs another copy.
- At the end of the day, settle your batch so funds move to your bank. Most terminals auto-settle on a schedule, but you can settle manually from the Batch or Settlement menu. Confirm the batch closes with a printed summary so your deposits stay on your normal schedule.
8.Tips and troubleshooting
- If a card is declined, ask the customer to try again or use another card — most declines come from the issuing bank, not the terminal. If the VL550 drops offline, re-check your network from Settings or let it fall back to 4G if your plan includes it.
- Install updates when prompted and restart the terminal weekly to keep the touchscreen and printer responsive. If a receipt jams or prints faint, reseat the paper roll and check that the cover is fully closed. Our local Puerto Rico support team can walk you through anything by phone.
Want the full rundown on what this terminal can do? See the Valor VL550 page, or browse all our card terminals to find the right fit for your business.