
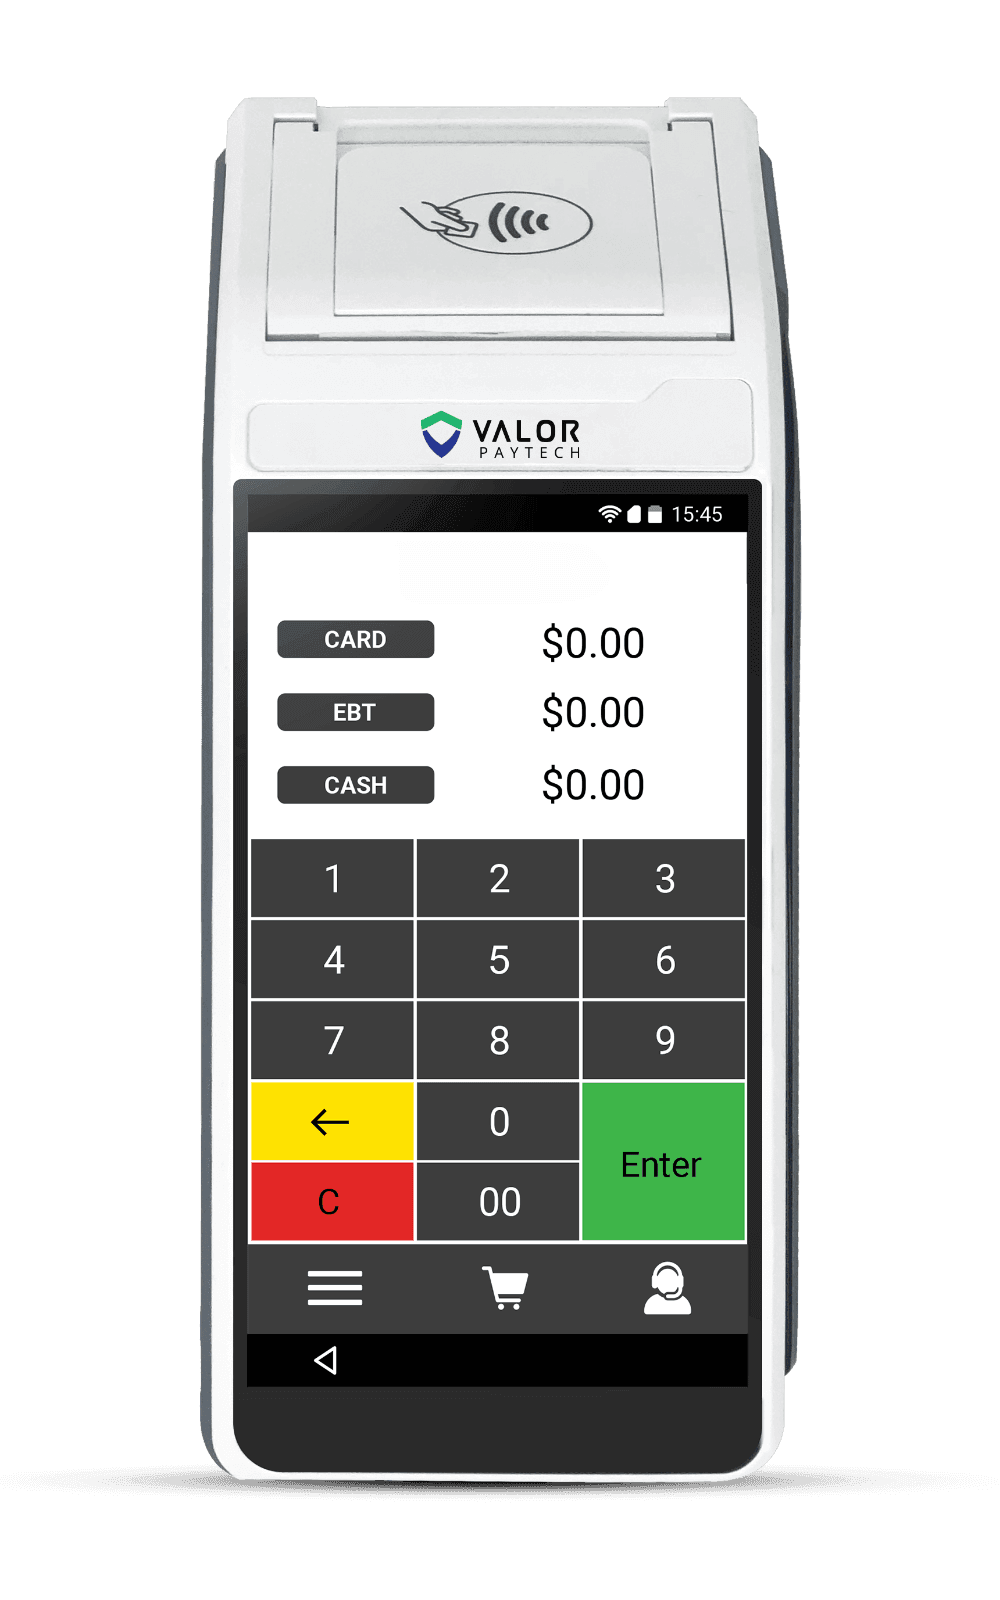
The Valor VL500 is a wireless, handheld Android smart terminal with a 5.5-inch touchscreen, a built-in printer, camera and scanner, and a battery that keeps you selling on the counter or on the go. It accepts EMV chip, contactless tap, magstripe swipe, and mobile wallets, and connects over Wi-Fi, 4G, Bluetooth, or Ethernet. This quick start breaks setup into eight simple steps — follow them in order and you will be taking payments the same day. If you get stuck, our card terminal specialists are based right here in Puerto Rico and happy to help.
1.Charge and power on the Valor VL500
- Unbox the VL500 handheld, its charging base, the power adapter, and a receipt paper roll. Because the terminal runs on an internal battery, give it a full charge — about 2 to 3 hours — before your first day so it lasts through a busy shift.
- Press and hold the power button on the side until the 5.5-inch touchscreen lights up. This wireless Android smart terminal boots straight to the payment home screen, where you can work handheld or drop it into its dock at the counter.
2.Connect to Wi-Fi or 4G
- From the home screen, open the settings gear and choose your connection. Tap Wi-Fi, pick your business network, and enter the password — a checkmark confirms you are online.
- The VL500 also supports 4G LTE, Bluetooth, and Ethernet through the dock, so you are never stuck. If you take payments on the move, ask our team to activate the built-in 4G SIM so the terminal stays connected anywhere on the island, even away from Wi-Fi.
3.Activate and download your profile
- With the terminal online, it will prompt for activation. Enter the merchant ID or activation code Caribbean Payments provided with your welcome details — this links every sale to your account.
- The VL500 then downloads your merchant profile, tax settings, tipping options, and any apps in your plan. Let the parameter download finish and reboot if asked; this one-time step configures the terminal for your business.
4.Load the receipt paper
- The VL500 has a built-in thermal printer. Lift the latch above the screen to open the paper compartment, drop in the roll so the paper feeds up and out from underneath, and pull a short tail past the tear bar.
- Snap the cover shut over the paper tail. Use standard 57 mm thermal rolls, and keep a spare on hand so a run-out never stops a sale.
5.Run a test sale
- Before going live, prove the terminal end to end. Open the Sale app, key a small amount such as $1.00, and accept payment. The VL500 reads EMV chip, contactless tap, and magstripe swipe, plus Apple Pay, Google Pay, and other mobile wallets.
- You can also use the built-in camera and scanner to capture a QR code or barcode. Approve the sale, then void it from the transaction list. A clean approval and reversal confirms your reader, network, and merchant account are all working together.
6.Print and reprint receipts
- After each sale, the VL500 offers a printed or digital receipt — tap Print for paper, or send it by email or text for a paperless option customers appreciate.
- Need a copy later? Open the Transactions or Reports menu, find the sale, and choose Reprint. The built-in printer produces a duplicate receipt in seconds without re-running the card.
7.Settle and batch out
- At the end of each day, close your batch so funds move to your bank. Open the Settlement or Batch menu and tap Settle All — the terminal totals your sales and submits them for deposit.
- You can print or email a batch report for your records. If auto-settlement is enabled on your account, the VL500 closes the batch automatically at a set time, but a manual check is a good daily habit.
8.Tips and troubleshooting
- If the terminal drops offline, re-check Wi-Fi in settings or switch to the 4G connection. A card decline usually comes from the issuing bank, not the VL500 — ask the customer to try again or use another card.
- Keep the battery topped up in its dock overnight, install updates when prompted, and restart the device weekly. If anything looks off, our local Puerto Rico support team can walk you through it by phone — you are never on your own.
Want the full rundown on what this terminal can do? See the Valor VL500 overview or browse all card terminals to find the right fit for your business.